Thin lips? Fine. But constantly applying glittery glosses or overlining with shaky hands only makes them look artificial—not fuller. The frustration is real. What if you could create a seamless, natural-looking volume boost that lasts all day—no needles, no drama? Enter the fuller lip blend: a strategic layering technique that tricks the eye into perceiving plumpness through texture, tone, and light.
Why Standard Lip Plumpers Fall Short
Most drugstore “plumpers” rely on irritants like cinnamon oil or menthol. They cause temporary swelling—but also stinging, redness, and chapped edges. And overlining? One shaky stroke too far turns your pout into a cartoon sketch. These methods chase instant impact instead of optical illusion. Real fullness isn’t about puffing—it’s about precision.
And here’s what no brand tells you: your lip color matters more than your liner. A flat, matte shade absorbs light. That flattens your profile. You need dimension—not dilation.
Mastering the Fuller Lip Blend: A Step-by-Step Guide
This isn’t makeup. It’s subtle facial architecture. Follow these steps for believable, kissable volume.
Select Your Base Hue Strategically
Pick a lipstick one shade deeper than your natural lip color—but never darker than your gums. Why? Too-dark shades recede visually. You want forward projection. Creamy formulas work best; avoid anything powdery or ultra-matte.
Map Your Natural Cupid’s Bow
Use a concealer two tones lighter than your skin to sharpen the peak. Blend outward—never downward. This creates a focal point that draws eyes upward, enhancing perceived height and symmetry.
Layer with Light, Not Gloss
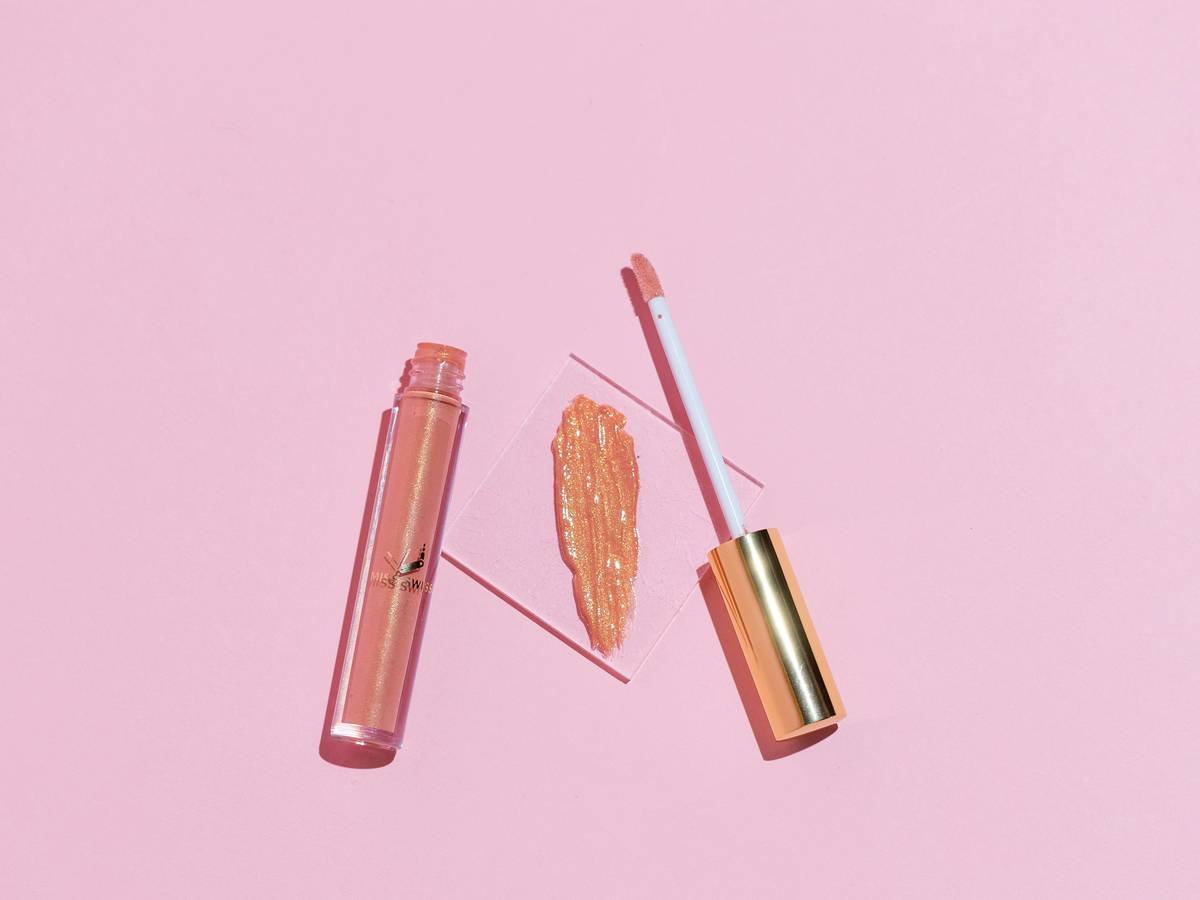
Skip sticky topcoats. Instead, dab a tiny amount of liquid highlighter (yes, face highlighter) onto the center of both lips. Blend with a fingertip. This mimics how light hits naturally plump lips—brightest at the middle, fading toward the corners.
| Method | Perceived Fullness | Longevity | Risk of Overdoing It |
|---|---|---|---|
| Traditional Lip Liner Overlining | Moderate (if done perfectly) | 4–6 hours | High—easily looks drawn-on |
| Irritant-Based Plumping Gloss | High (temporary) | 1–2 hours | Medium—causes dryness/flaking |
| Fuller Lip Blend Technique | Natural & consistent | 8+ hours (with setting) | Low—builds gradually |
The Industry Secret: “The 3-Zone Rule”
Behind every A-lister’s “born-this-way” pout is a covert rule: divide each lip into three vertical zones. Left outer third = slightly cooler tone. Center third = warm + luminous. Right outer third = neutral. Why? Human faces aren’t symmetrical under direct light. By warming only the center, you simulate how light naturally pools on rounded surfaces—creating subconscious depth.
But most tutorials skip this. They treat lips like a flat canvas. Big mistake. Lips are curved terrain. Master the gradient, and you master perception. The math is simple: dimension = depth = fullness.
Frequently Asked Questions
Does a fuller lip blend work on dark skin tones?
Absolutely. Use warm caramel or burnt rose bases with gold-flecked highlighters—never chalky whites. The key is contrast within your undertone family.
Can I use regular foundation as a base?
Not ideal. Foundation lacks emollients and can crack. Opt for a hydrating tinted balm or mix concealer with a drop of facial oil for flexibility.
How often should I reapply the highlighter step?
Once in the morning suffices if you set it lightly with translucent powder. Re-blending midday usually smudges the gradient—less is more.