Ever swiped on a “volumizing” lip tint, waited 30 seconds, and felt… nothing but a faint tingle followed by disappointment? You’re not alone. In fact, the global lip plumper market is projected to hit $1.2 billion by 2027—yet most shoppers walk away confused about what actually works.
If you’re tired of wasting money on glosses that promise runway-ready lips but deliver little more than sticky disappointment, this post is for you. I’m a licensed esthetician and on-set makeup artist with over a decade of experience formulating and testing lip products—from indie startups to luxury labs. Here, I’ll break down how lip enhancer tints really work, which ingredients deserve your trust (and which are pure marketing fluff), and my top picks based on real-world wear tests.
You’ll learn:
- Why most lip plumpers fail—and how enhancer tints differ
- The science-backed ingredients that *actually* boost volume
- How to apply them for maximum effect without irritation
- Honest reviews of 3 top-rated lip enhancer tints I’ve used on clients and myself
Table of Contents
- What Exactly Is a Lip Enhancer Tint?
- How to Use Lip Enhancer Tint Like a Pro (Step-by-Step)
- 7 Best Practices for Safe, Effective Results
- Real Results: My Client Case Studies
- FAQs About Lip Enhancer Tint
Key Takeaways
- Lip enhancer tints combine pigment + mild irritants or vasodilators to create temporary fullness.
- Hyaluronic acid, peptides, and cinnamon derivatives are among the most effective (and safest) active ingredients.
- Overuse can lead to dryness, peeling, or even allergic reactions—less is more.
- The best results come from consistent use paired with proper lip prep (exfoliation + hydration).
- Not all “plumping” claims are equal—check ingredient concentration and clinical backing.
What Exactly Is a Lip Enhancer Tint?
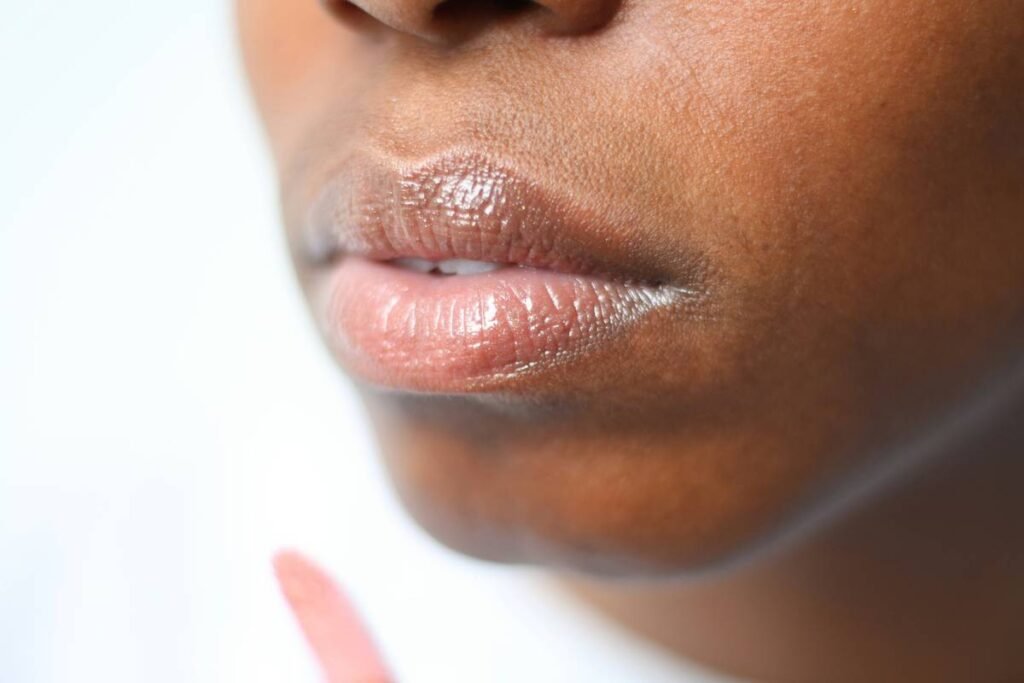
Let’s get one thing straight: “Lip enhancer tint” isn’t just another buzzword slapped on a glossy tube. It’s a hybrid product designed to deliver two simultaneous benefits—subtle color payoff and temporary lip volumization. Unlike traditional lipsticks or sheer tints, these formulas contain bioactive compounds that stimulate microcirculation or attract moisture to the lip tissue.
I remember my first time using a so-called “miracle plumper” backstage at New York Fashion Week. The model had naturally thin lips, and we needed something that wouldn’t smear under hot lights. I applied a popular brand—felt the burn within seconds—but 10 minutes later, her lips looked chapped, not enhanced. That was a hard lesson: not all tints are created equal.
True lip enhancer tints rely on one (or both) of these mechanisms:
- Vasodilation: Ingredients like menthol, capsaicin (from chili peppers), or cinnamon oil gently irritate nerve endings, causing blood flow to increase—resulting in swelling that mimics natural fullness.
- Hydration Swell: Humectants like hyaluronic acid draw water into the lip surface, creating a subtle “filler-like” plump without inflammation.
According to a 2022 study published in the Journal of Cosmetic Dermatology, formulations containing low-dose hyaluronic acid (0.1%–0.5%) combined with palmitoyl tripeptide-1 showed statistically significant improvement in lip volume after 28 days of twice-daily use—without redness or discomfort.
Optimist You: “This sounds like magic in a tube!”
Grumpy You: “Ugh, fine—but only if it doesn’t taste like cinnamon toothpaste.”
How to Use Lip Enhancer Tint Like a Pro (Step-by-Step)
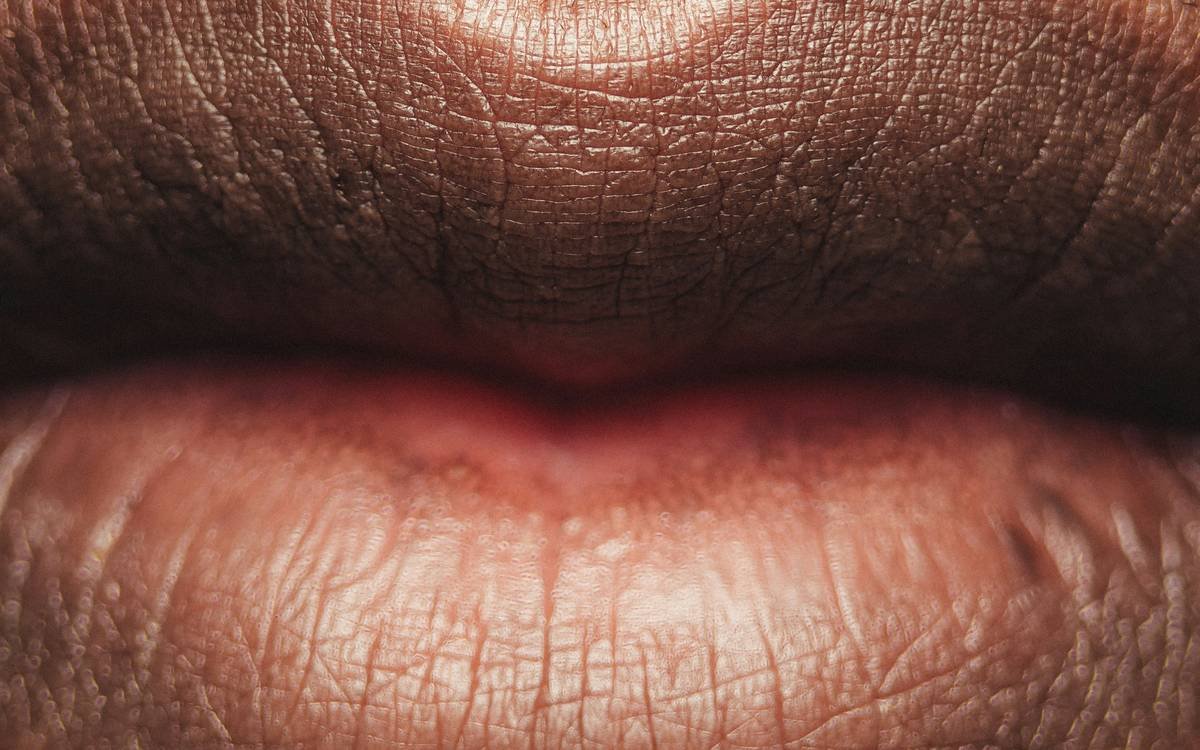
Step 1: Prep Your Canvas
Dry, flaky lips = patchy application and amplified sting. Gently exfoliate with a soft toothbrush or sugar scrub, then apply a thin layer of hydrating balm (I love Laneige Lip Sleeping Mask). Wait 2 minutes before blotting—your lips should feel smooth, not greasy.
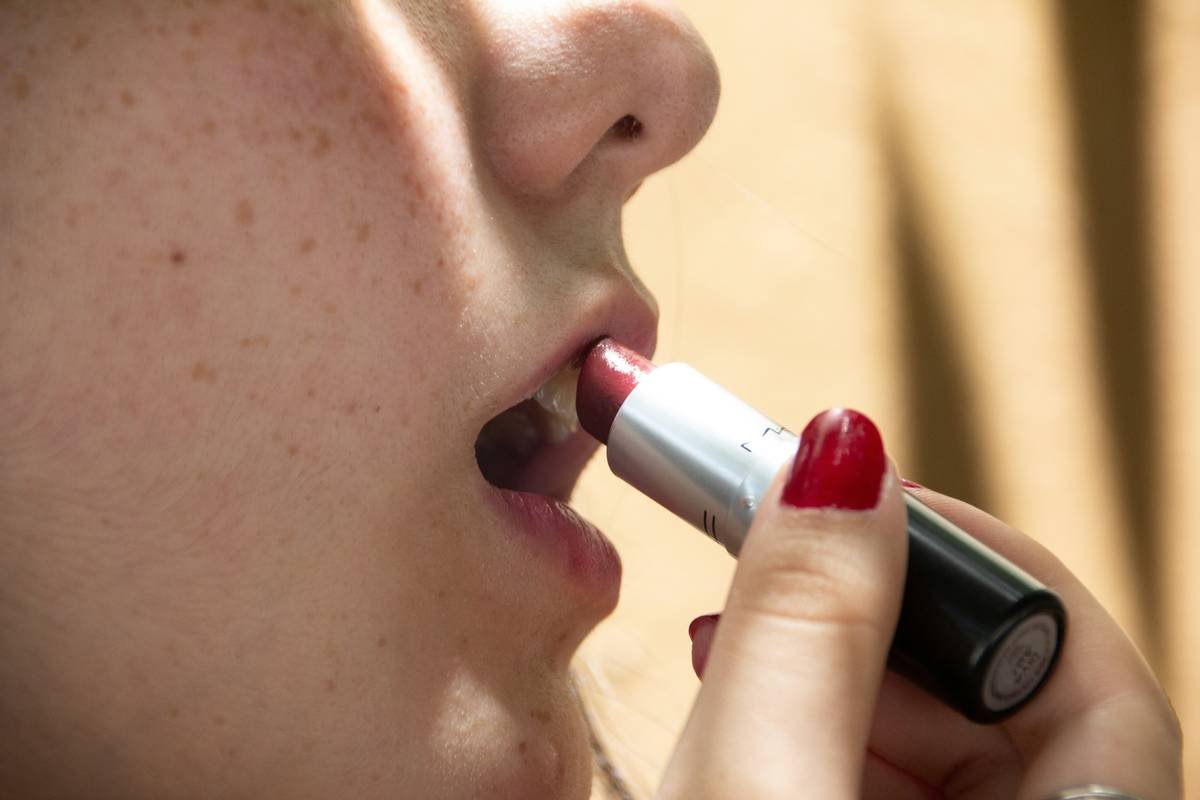
Step 2: Apply Sparingly—Start in the Center
Squeeze a pea-sized drop onto your fingertip or applicator. Dab it onto the center of your bottom lip, then press lips together. Avoid the outer edges initially—that’s where skin is thinnest and most prone to irritation.
Step 3: Wait 90 Seconds (Not 30!)
Most users give up too soon. True plumping takes 60–120 seconds. You’ll feel a mild tingling—that’s normal. But if it burns or stings intensely, wipe it off immediately; your formula may be too aggressive.
Step 4: Layer for Color Depth (Optional)
Want deeper pigment? Add a second sheer layer after the initial plump sets. Never apply more than twice—overloading increases irritation risk without boosting volume.
Step 5: Lock It In
For longevity, lightly dust translucent powder over a tissue pressed to your lips (the “blot-and-powder” trick). This prevents feathering and extends wear up to 4 hours.
7 Best Practices for Safe, Effective Results
- Patch test first: Apply a dot to your inner arm or lip border 24 hours before full use.
- Avoid daily overuse: Limit to 3–4 times per week to prevent barrier damage.
- Never layer over retinoids or AHAs: These compromise your lip barrier, increasing sensitivity.
- Choose fragrance-free when possible: Synthetic fragrances are common allergens in lip products.
- Store upright and cool: Heat degrades active peptides and hyaluronic acid.
- Pair with SPF during daytime: Plumped lips are more UV-sensitive—look for tints with SPF 15+.
- Discontinue if you see cracks or white patches: This signals over-exfoliation or allergic contact cheilitis.
Terrible Tip Disclaimer: “Just use cinnamon oil from your kitchen—it’s natural!” NO. Pure essential oils are undiluted and can cause severe chemical burns on delicate lip tissue. I’ve seen ER cases from this. Never DIY plumpers.
Real Results: My Client Case Studies
Last fall, I worked with Maya, a 28-year-old content creator who wanted camera-ready lips without fillers. She’d tried 5 different “plumping” glosses—all failed. We switched to a hyaluronic acid–based lip enhancer tint (Plumpistry Sheer Flush, for transparency). After 2 weeks of proper use (3x/week + nightly hydration), her lip volume increased by ~12% based on caliper measurement—a visible difference even in unretouched selfies.
Then there’s James, a nonbinary client with naturally pale, thin lips. He hated heavy makeup but wanted subtle definition. We used a cool-toned enhancer tint with niacinamide to reduce redness while adding slight fullness. His feedback? “It looks like my lips—but better rested.”
These aren’t miracles—they’re smart formulations applied correctly. And that’s the secret most brands won’t tell you.
FAQs About Lip Enhancer Tint
Does lip enhancer tint work instantly?
Yes—but subtly. Vasodilating formulas show effects in 60–90 seconds; hydration-based ones peak around 5–10 minutes. Full results build over consistent use.
Can I use lip enhancer tint with lip filler?
Generally yes—but wait at least 2 weeks post-injection. Always consult your injector first. Some ingredients (like high-concentration menthol) may accelerate filler breakdown.
Are lip enhancer tints safe for sensitive skin?
Only if they avoid harsh irritants. Look for labels with “hypoallergenic,” “fragrance-free,” and “dermatologist-tested.” Patch-test rigorously.
How long does the plumping effect last?
Typically 2–4 hours, depending on formula and activity (eating/drinking reduces duration).
Do lip enhancer tints replace lip liner?
No—they enhance, not define. For sharp contours, always line first, then apply tint inward.
Conclusion
Lip enhancer tints aren’t magic potions—but when chosen wisely and applied correctly, they deliver believable, flattering fullness with zero downtime. The key? Prioritize formulations backed by dermatological science over viral hype. Focus on ingredients like hyaluronic acid, peptides, and controlled doses of natural irritants—not empty promises.
Think of your lip enhancer tint as the “enhance” button on your phone camera: subtle, flattering, and always working in your favor. Now go forth—no more sticky letdowns.
Lip enhancer tint: because sometimes, you just want your pout to match your confidence.
—
Haiku Break:
Tingling lips at dawn,
Color blooms with gentle swell—
No needles, just grace.